 Previous Topic
Format Dial Gauge Dialog Box Properties
This topic describes how you can use the Format Dial Gauge dialog box to format a dial gauge chart. Server displays the dialog box when you right-click on a dial gauge chart and select Format Graph from the shortcut menu.
This topic contains the following sections:
- Circular Graph Tab Properties
- Axis Tab Properties
- Pointer Tab Properties
- Target Tab Properties
- Frame Tab Properties
- Range Color Tab Properties
- Hint Tab Properties
You see these elements on all the tabs:
OK
Select OK to apply any changes you made here.
Cancel
Select Cancel to close the dialog box without saving any changes.

Select to view information about the Format Dial Gauge dialog box.

Select to close the dialog box without saving any changes.
Circular Graph Tab Properties
Specifies properties for dials in the dial gauge chart.
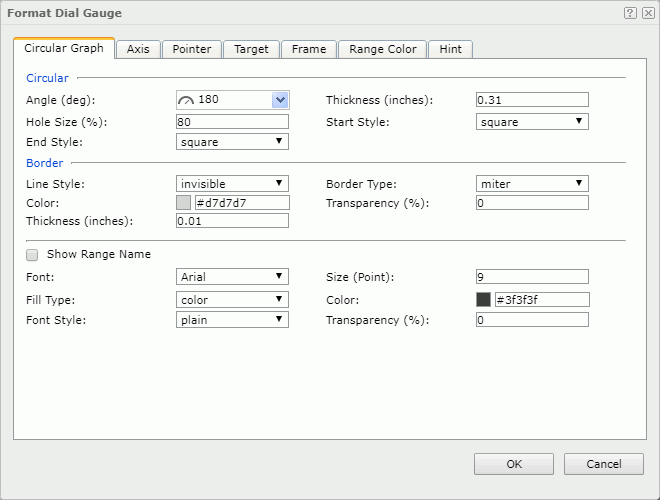
Circular
Specifies the size of the dials.
- Angle
Specifies the degree for angles of the dials. Select the angle of the gauge from the drop-down list or select Customized to open the Customize Gauge Angle dialog box to specify the start angle and end angle. - Thickness
Specifies the thickness of the dials, in inches. - Hole Size
Specifies the relative size of a dial in a percentage of total dial size. - Start Style
Specifies the style of the start graph of the dials. - End Style
Specifies the style of the end graph of the dials.
Border
Specifies properties for borders of the dials.
- Line Style
Specifies the line style to apply to the border. - Border Type
Specifies the type of the border. - Color
Specifies the color of the border. - Transparency
Specifies the transparency for color of the border. - Thickness
Specifies the thickness of the border, in inches.
Show Range Name
Specifies whether to show the names of the ranges defined in the Range Color tab. When it is selected, you can use the following font properties to specify the format of the name text.
- Font
Lists all the available font faces that can be selected to apply to the text. - Size
Specifies the font size of the text. - Fill Type
Specifies the fill type of the text. It can be one of the following: none, color, gradient and texture. - Color
Specifies the font color of the text. - Font Style
Specifies the font style of the text. It can be one of the following: plain, bold, italic, and bold italic. - Transparency
Specifies the color transparency of the text.
 Back to top
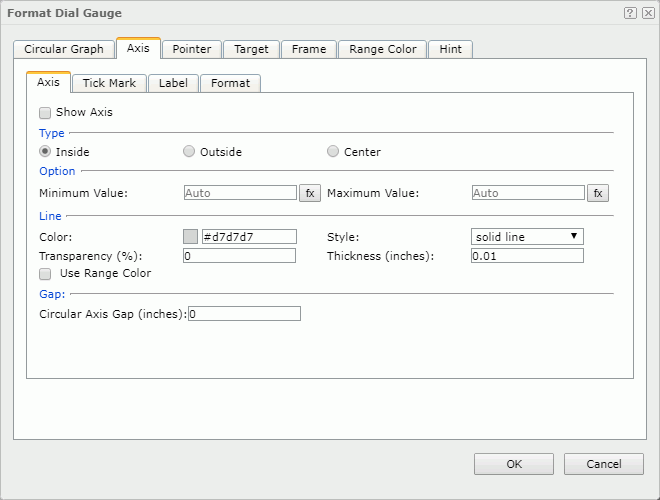
Axis Tab Properties
The tab consists of four sub tabs: Axis, Tick Mark, Label and Format.
Axis
Specifies properties of the axis in the dial gauge.
Show Axis
Specifies whether to show the axis in the dial gauge.
Type
Specifies the position relationship of the axis and the dials.
- Inside
If selected, the axis will be inside the dials. - Outside
If selected, the axis will be outside the dials. - Center
If selected, the axis will be in the center of the dials.
Specifies the values to display on the axis.
- Minimum Value
Specifies the minimum value of the axis. You can also use a formula to control the property. - Maximum Value
Specifies the maximum value of the axis. You can also use a formula to control the property.
Line
Specify the properties of the axis line.
- Color
Specify the color of the line. - Style
Select the style of the line. - Transparency
Specify the transparency for the color of the line. - Thickness
Specify the thickness of the line. - Use Range Color
Select to use the color you define for the ranges as the line color. In this case, Server disables the Color and Transparency properties.
Gap
- Circular Axis Gap
Specifies the gap between the axis and the dials if the axis is inside or outside of the dials.
Tick Mark
Specifies properties of the tick marks on the axis.
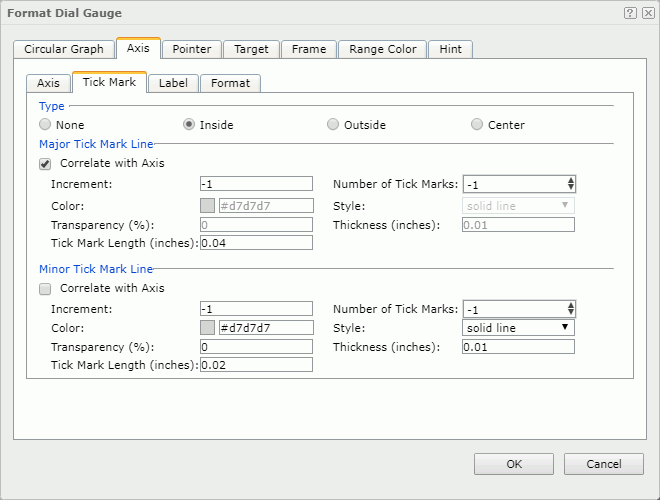
Type
Specifies the type of the tick marks on the axis.
- None
Specifies not to display the tick marks on the axis. It is meaningless to specify all the other tick mark related properties if this type is selected. - Inside
Specifies to display the tick marks inside the axis. - Outside
Specifies to display the tick marks outside the axis. - Center
Specifies to display the tick marks in the center of the axis.
Major Tick Mark Line
Specify the properties of the major tick mark line.
- Correlate with Axis
Select if you want the line properties of the major tick marks to correlate with that of the axis automatically.- Color
Specify the color of the major tick mark line. Server disables this property when you select Use Range Color on the Axis > Axis tab. - Style
Select the style of the major tick mark line. - Transparency
Specify the color transparency of the major tick mark line. Server disables this property when you select Use Range Color on the Axis > Axis tab. - Thickness
Specify the thickness of the major tick mark line.
- Color
- Increment
Specify the distance between two adjacent major tick marks on the axis. - Number of Tick Marks
Specify the number major tick marks you want to display on the axis. - Tick Mark Length
Specify the length of the major tick mark line, in inches.
Minor Tick Mark Line
Specify the properties of the minor tick mark line.
- Correlate with Axis
Select if you want the line properties of the minor tick marks to correlate with that of the axis automatically.- Color
Specify the color of the minor tick mark line. Server disables this property when you select Use Range Color on the Axis > Axis tab. - Style
Select the style of the minor tick mark line. - Transparency
Specify the color transparency of the minor tick mark line. Server disables this property when you select Use Range Color on the Axis > Axis tab. - Thickness
Specify the thickness of the minor tick mark line.
- Color
- Increment
Specify the distance between two adjacent minor tick marks on the axis. - Number of Tick Marks
Specify the number of minor tick marks you want to display on the axis. - Tick Mark Length
Specify the length of the minor tick mark line, in inches.
Label
Specifies properties of the major tick mark labels.
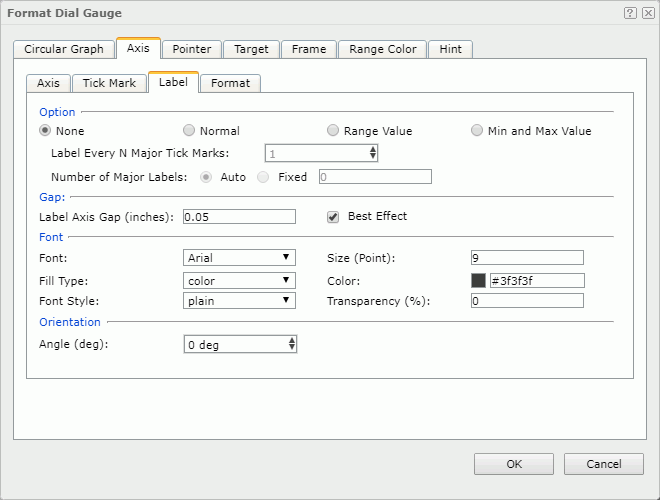
Option
Specifies the type of the labels.
- None
Select if you don't want the labels to show. - Normal
Select if you want to customize the labels.- Label Every N Major Tick Marks
Specify the frequency at which you want to label the major tick marks. - Number of Major Labels
Specify the number of major tick mark labels to display on the axis.- Auto
Select to display all major tick mark labels. - Fixed
Select and specify the number of the major tick mark labels to display on the axis.
- Auto
- Label Every N Major Tick Marks
- Range Value
Select if you want the labels to show the range values you define. - Min and Max Value
Select if you want the labels to show the minimum value and maximum value you define on the Axis > Axis tab.
Gap
Specify the gap properties for the data labels.
- Label Axis Gap
Specify the distance between the data labels and the axis, in inches. - Best Effect
Select to adjust the data labels automatically to place them in the best positions. In this case, Server hides some labels when they overlap.
Font
Specify the font format of text in the data labels.
- Font
Select the font face of the text. - Size
Specify the font size of the text. - Fill Type
Select the fill type of the text: none, color, texture, or gradient. - Color
Specify the font color of the text. Server disables this property when you select Use Range Color on the Axis > Axis tab. - Font Style
Select the font style of the text: plain, bold, italic, or bold italic. - Transparency
Specify the color transparency of the text. Server disables this property when you select Use Range Color on the Axis > Axis tab.
Orientation
- Angle
Specifies the rotation angle of the data labels.
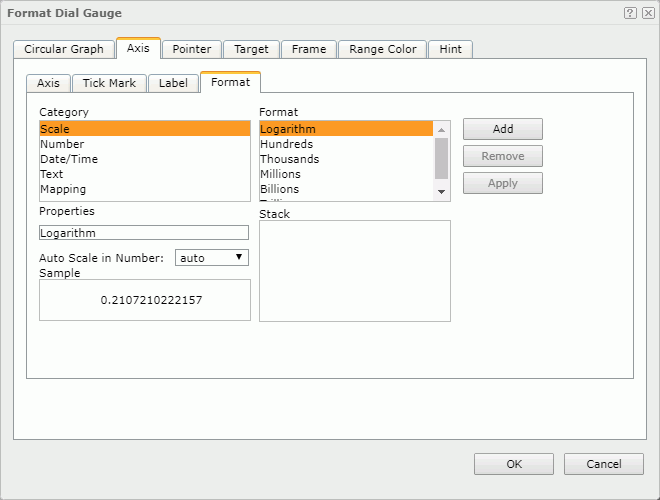
Format
Specifies the data format of the major tick mark labels. See Format.
Pointer Tab Properties
Specifies the properties of the pointers in the dial gauge.
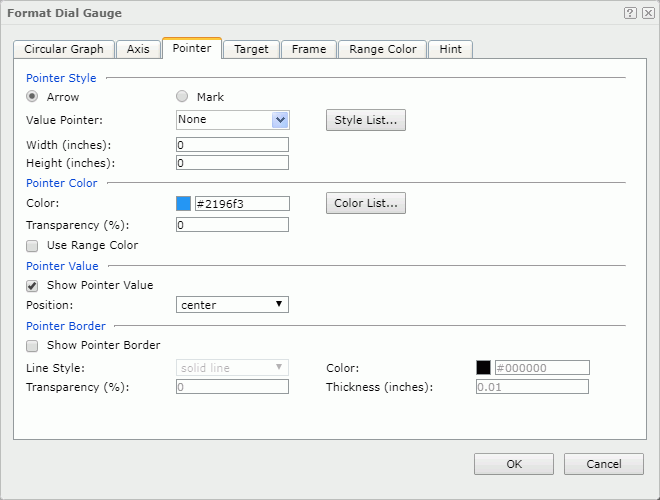
Pointer Style
Specifies the style of the pointers.
- Arrow
Specifies to use arrow as the pointer style.- Value Pointer
Specifies the style of the value pointers. Select a style from the drop-down list or select Customized to specify another image as the value pointers in the Insert Image dialog box. - Width
Specifies the width of the arrow. - Height
Specifies the height of the arrow.
- Value Pointer
- Mark
Specifies to use mark as the pointer style.- Value Pointer
Specifies the style of the value pointers. Select a style from the drop-down list or select Customized to specify another image as the value pointers in the Insert Image dialog box. - Width
Specifies the width of the marks. - Height
Specifies the height of the marks. - Position
Specifies the position relationship of the marks and the dial. - Gap
Specifies the distance between the pointer and the dial, in inches.
- Value Pointer
- Style List
Opens the Style List dialog box to specify the style for pointers in the same data series respectively.
Pointer Color
Specifies color properties of the pointers.
- Color
Specifies the color of the pointers. - Color List
Opens the Color List dialog box for you to specify the pointer color. - Transparency
Specifies the transparency for color of the pointers. - Use Range Color
Specifies whether to use the color defined for the ranges as the pointer color. If the option is selected, the preceding three properties will be disabled.
Pointer Value
Specifies the pointer value properties.
- Show Pointer Value
Specifies whether to show the pointer values.- Position
Specifies the position relationship between the values and the pointers. Select the position from the drop-down list. If customized is selected, the X and Y settings in the General tab of the Format Pointer Label dialog box will take effect.
- Position
Pointer Border
Specifies the pointer border properties.
- Show Pointer Border
Specifies whether to show the border of the pointers. When it is selected, the following border properties are enabled.- Line Style
Specifies the line style to apply to the border. - Color
Specifies the color of the border. - Transparency
Specifies the transparency for color of the border. - Thickness
Specifies the weight of the border, in inches.
- Line Style
Target Tab Properties
Specifies the properties of the target in the dial gauge.
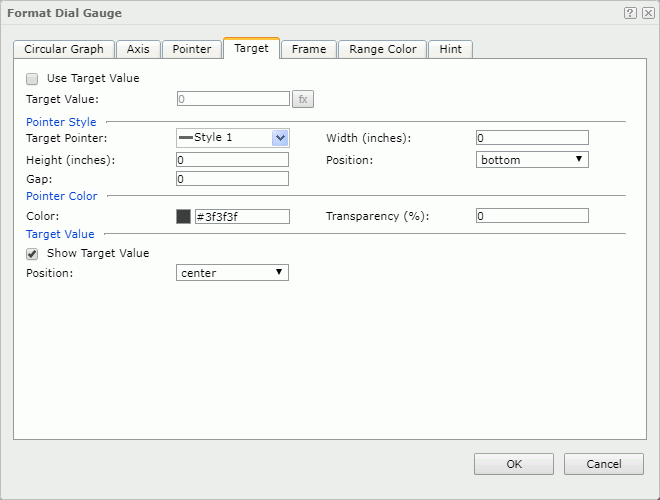
Use Target Value
Specifies whether to use the target value for the dial gauge.
- Target Value
Specifies the target value. You can also use a formula to control the value.
Pointer Style
Specifies the pointer style for the target value.
- Target Pointer
Specifies the style of the target pointer. Select a style from the drop-down list or select Customized to specify another image as the target pointer in the Insert Image dialog box. - Width
Specifies the width of the target pointer. - Height
Specifies the height of the target pointer. - Position
Specifies the position of the target pointer relative to the dial. - Gap
Specifies the distance between the target pointer and the dial.
Pointer Color
Specifies color properties of the target pointer.
- Color
Specifies the color of the target pointer. - Transparency
Specifies the transparency for color of the target pointer.
Target Value
Specifies properties of the target value.
- Show Target Value
Specifies whether to show the target value on the dial gauge.- Position
Specifies the position of the target value relative to the dial. Select the position from the drop-down list. If customized is selected, the X and Y settings in the General tab of the Format Target Label dialog box will take effect.
- Position
Frame Tab Properties
Specifies properties for the frame of the dial gauge chart.
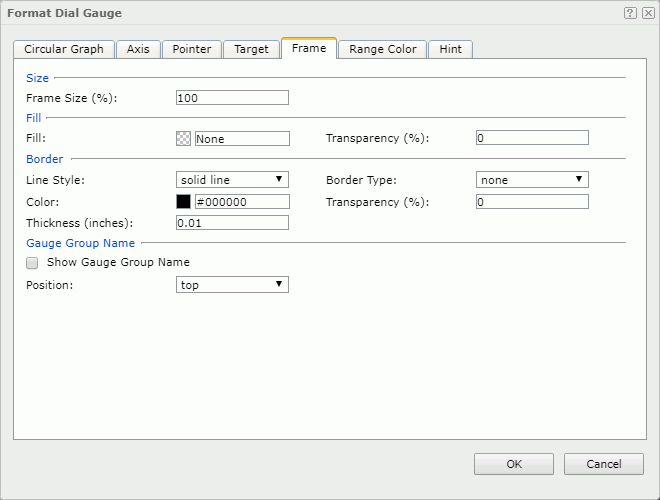
Size
Specifies the size properties of the frame.
- Frame Size
Specifies the size of the frame.
Fill
Specifies the color and transparency of the frame.
- Fill
Specifies the color to fill the frame. - Transparency
Specifies the transparency of the color to fill the frame.
Border
Specifies the properties for border of the frame.
- Line Style
Specifies the line style to apply to the border. - Border Type
Specifies the type of the border. - Color
Specifies the color of the border. To change the color, select the color indicator to select a new color from the color palette, or select More Colors in the color palette to access the Color Picker dialog box in which you can select a color within a wider range. - Transparency
Specifies the transparency for color of the border. - Thickness
Specifies the thickness of the border, in inches.
Gauge Group Name
Specifies properties for the gauge group name.
- Show Gauge Group Name
Specifies whether to show names for the arcs in the dial gauge which are values of the field on its category axis. If the dial gauge contains no category field, the group name shows Report by default.- Position
Specifies the position of the names relative to the dial. Select the position from the drop-down list. If customized is selected, the X and Y settings in the General tab of the Format Gauge Label dialog box will take effect.
- Position
Range Color Tab Properties
Specifies different colors to fill the dials in dial gauge in different ranges.
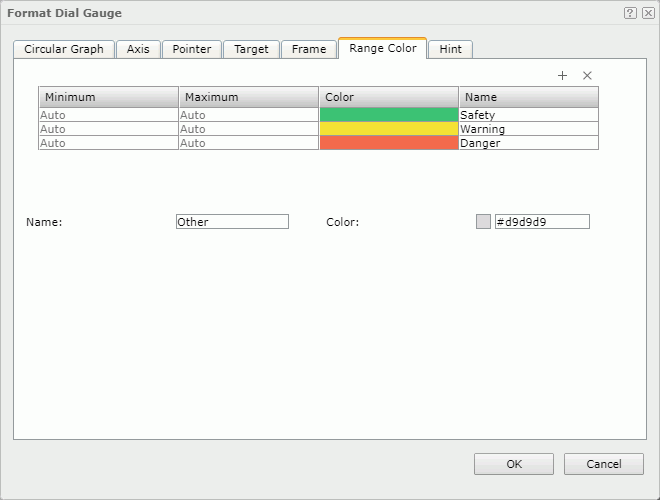

Adds a new color range.

Removes the selected color range.
Minimum
Specifies the minimum value of the range.
Maximum
Specifies the maximum value of the range.
Color
Specifies the color schema of the range. Select in the color cell to select a color from the color palette, or select More Colors in the color palette to access the Color Picker dialog box in which you can select a color within a wider range.
Name
Displays the name of the range.
Others
Specifies the properties for values that do not fall into any of the ranges you define.
- Name
Specifies the name for the values. - Color
Specifies the color for the values. To change the color, select the color indicator to select a new color from the color palette, or select More Colors in the color palette to access the Color Picker dialog box in which you can select a color within a wider range.
Hint Tab Properties
Specifies properties of the data marker hint.

Show Category and Series
Select to include the category and series values in the data marker hint.Auto Scale in Number
Specifies whether to automatically scale the values displayed in the data marker hint that are of the Number data type when the values fall into the two ranges:
- When 1000 <= value < 10^15, the following quantity unit symbols of the International System of Units are used to scale the values: K (10^3), M (10^6), G (10^9), and T (10^12).
- When 0 < value < 0.001 or value >= 10^15, scientific notation is used to scale the values.
The default value auto means that the setting follows that of the chart.