 Previous Topic
Format Platform Dialog Box Properties
You can use the Format Platform dialog box to format the platform of a chart. This topic describes the properties in the dialog box.
This topic contains the following sections:
You see these elements on all the tabs:
OK
Select to apply any changes you made here and exit the dialog box.
Cancel
Select to close the dialog box without saving any changes.
Help
Select to view information about the dialog box.
General Tab Properties
Specify the general properties of the chart platform.
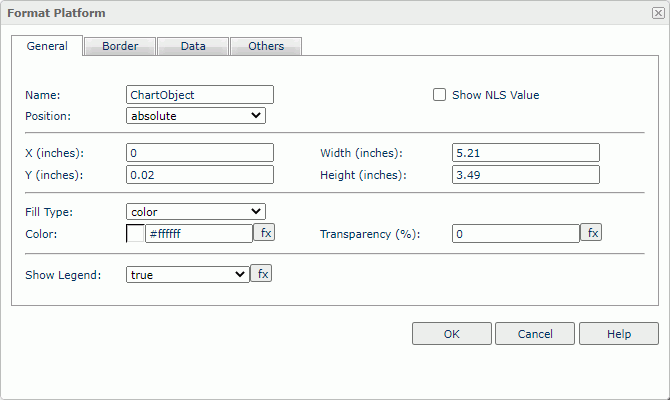
Name
Specify the display name of the platform.
Show NLS Value
Select to show the translated name for the display name of the object in the Name text box if you have enabled the NLS feature and translated it, and when you have not modified the display name of the object.
Position
Select the position mode of the object when it is directly contained in the report body, a tabular cell, or a text box.
- Absolute
Select if you want to use the X and Y property values to decide the object's position. - Static
Select if you want to place the object at the default location in its container. Server will hide or disable the X, Y, and other position-related properties.
X
Specify the X coordinate of the platform.
Y
Specify the Y coordinate of the platform.
Width
Specify the width of the platform.
Height
Specify the height of the platform.
Fill Type
Specify a type for filling the platform.
Color
Specify the background color of the platform.
To change the color, select the color indicator to access the Select Color dialog box, and then specify a new color. You can also type a hexadecimal RGB value to specify a color, for example, #9933ff. If you want to make the background transparent, type Transparent in the text box.
Transparency
Specify the transparency of the chart background color.
Show Legend
Select true to show the legend.
 Back to top
Border Tab Properties
Specify the border properties of the chart platform.
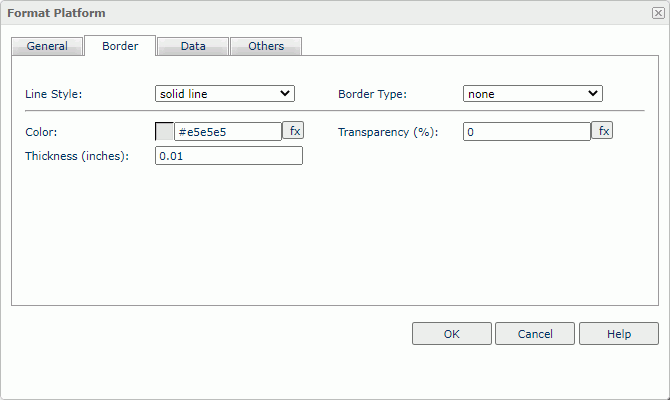
Line Style
Select the line style of the border.
Border Type
Select the type of the border.
Color
Specify the color of the border.
Transparency
Specify the transparency for the color of the border.
Thickness
Specify the thickness of the border, in inches.
Data Tab Properties
You can use this tab to view and configure properties of the chart data.
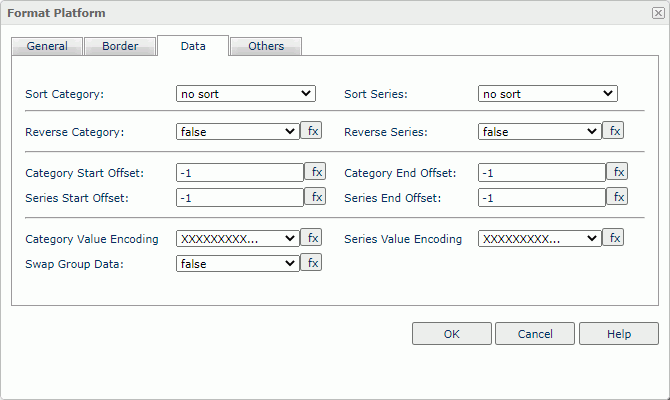
Sort Category
Specify the sorting order for the category field values.
Sort Series
Specify the sorting order for the series field values.
Reverse Category
Select true to reverse the category field value sequence.
Reverse Series
Select true to reverse the series field value sequence.
Category Start Offset
Specify the starting offset of the categories.
Category End Offset
Specify the ending offset of the categories.
Series Start Offset
Specify the starting offset of the series.
Series End Offset
Specify the ending offset of the series.
Category Value Encoding
Specify the encoding format for values on the category axis. Formats here usually include BIG5, EUCJIS, GBK, UTF8, and XXXXX.
Series Value Encoding
Specify the encoding format for values on the series axis. Formats here usually include BIG5, EUCJIS, GBK, UTF8, and XXXXX.
Swap Data Group
Select true to display values from different data fields by switching data between the category and series axes or between the category and values axes.
Others Tab Properties
You can use this tab to view and configure some miscellaneous settings.
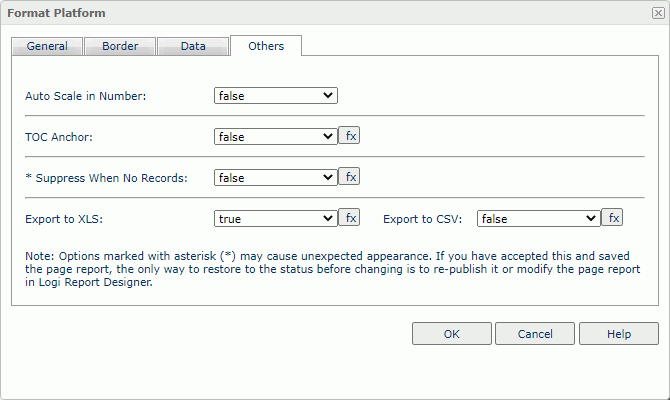
- When 1000 <= value < 10^15, Logi Report uses the following quantity unit symbols of the International System of Units to scale the values: K (10^3), M (10^6), G (10^9), and T (10^12).
- When 0 < value < 0.001 or value >= 10^15, Logi Report uses scientific notation to scale the values.
TOC Anchor
Select true if you want to add the object to the TOC tree in the TOC Browser.
Suppress When No Records
Select true if you want to hide the object in the report result when no record returns to its parent data component.
Export to XLS
Select true if you want to export the object when you save the report result as an XLS file (make sure to check Data Format in the Export dialog box).
Export to CSV
Select true if you want to export the object when you save the report result as a TXT file with Delimited Format.