 Previous Topic
Clustering Logi Report Server with Oracle WebLogic Server 12c (12.1.3)
This topic describes how to configure a WebLogic 12c cluster and then integrate Logi Report Server in the cluster.
The cluster contains an admin server named adminNew (port 7001), a proxy server named proxy, and two managed servers named manage1 and manage2. Each clustered computer should have a unique IP address or host name.
The procedure contains the following major steps:
- Step 1: Install Oracle WebLogic Server 12c (12.1.3)
- Step 2: Configure an Oracle WebLogic Cluster
- Step 3: Deploy Logi Report to the Oracle WebLogic Cluster
Step 1: Install Oracle WebLogic Server 12c (12.1.3)
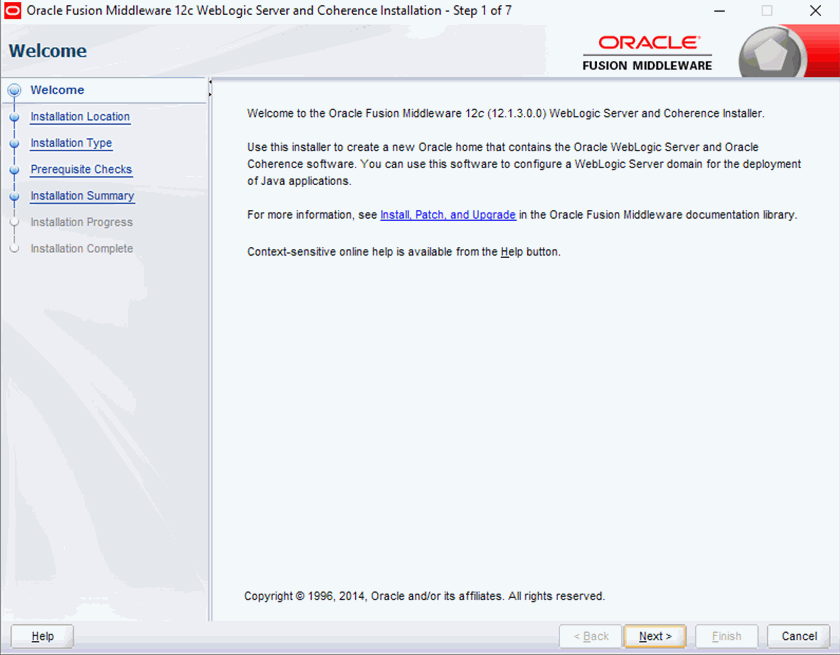
- As an administrator, run the installation file fmw_12.1.3.0.0_wls.jar downloaded from Oracle website to start the Oracle Fusion Middleware 12c WebLogic Server and Coherence Installation wizard. Select Next.
- In the Installation Location screen, set the Oracle Home as
C:\Oracle12c\Middleware\Oracle_Home. Select Next.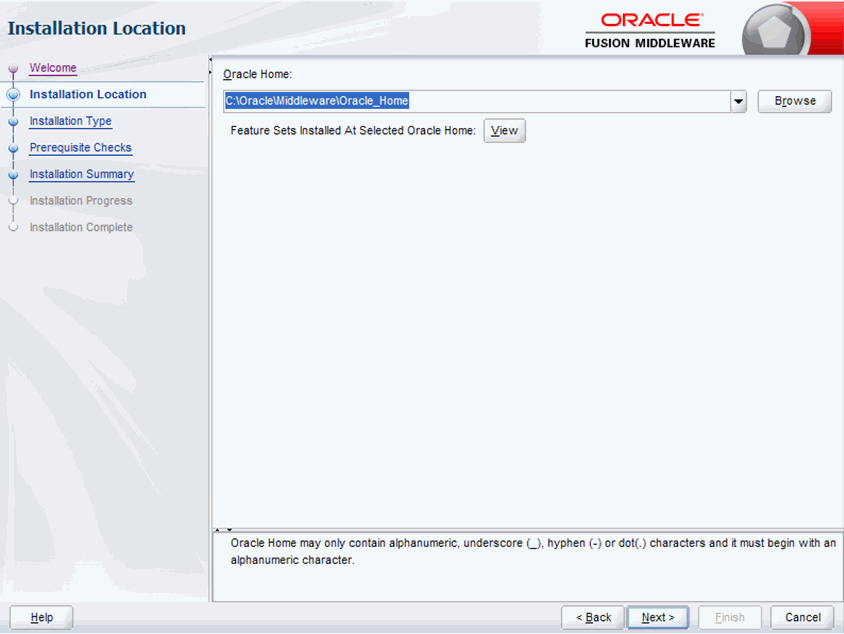
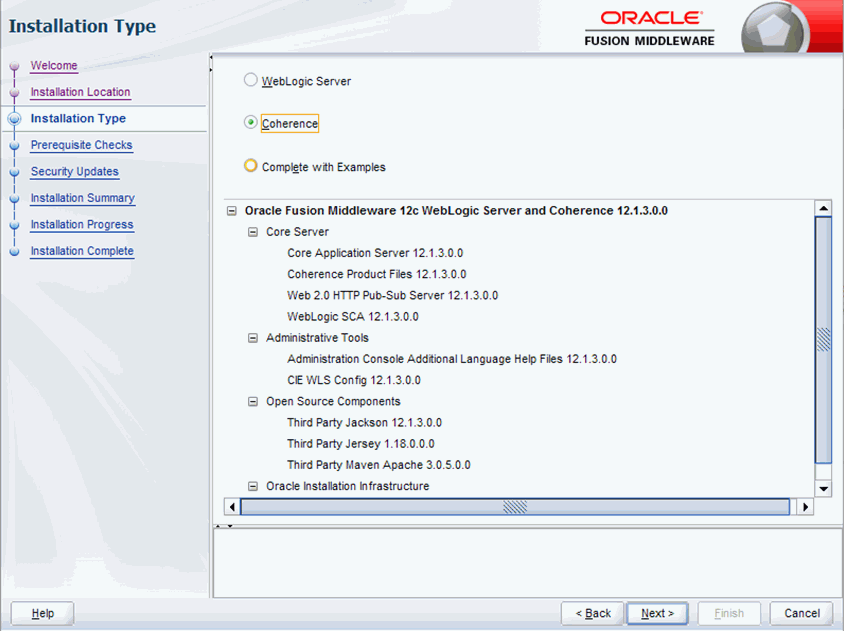
- In the Installation Type screen, choose Coherence.
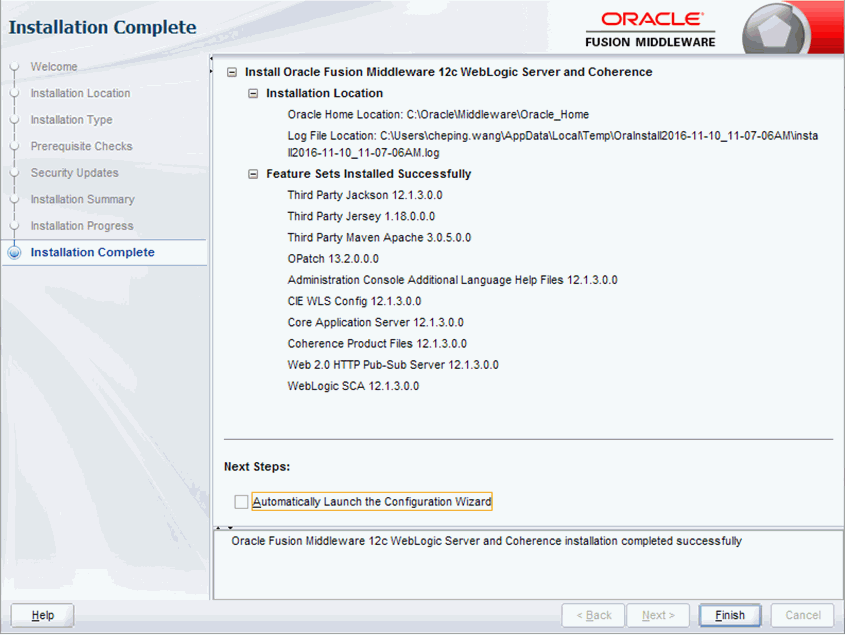
- Keep selecting Next till the Installation Complete screen, then select Finish to finish the installation.
 Back to top
Step 2: Configure an Oracle WebLogic Cluster
- Start the Configuration Wizard. On Windows you can start it by selecting Start > Oracle > OracleHome > WebLogic Server 12c (12.1.3) > Tools > Configuration Wizard.
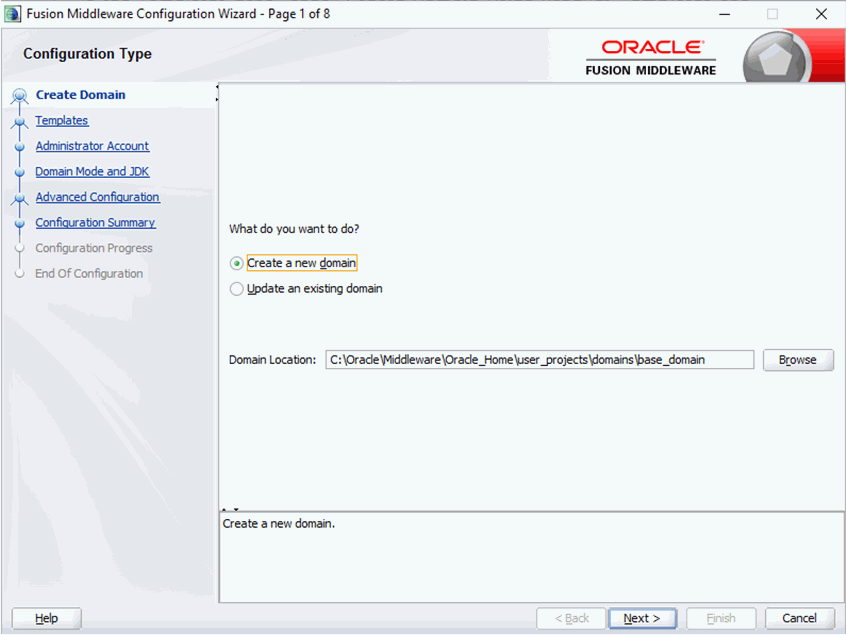
- In the Create Domain page, select Create a new domain and then select Next.
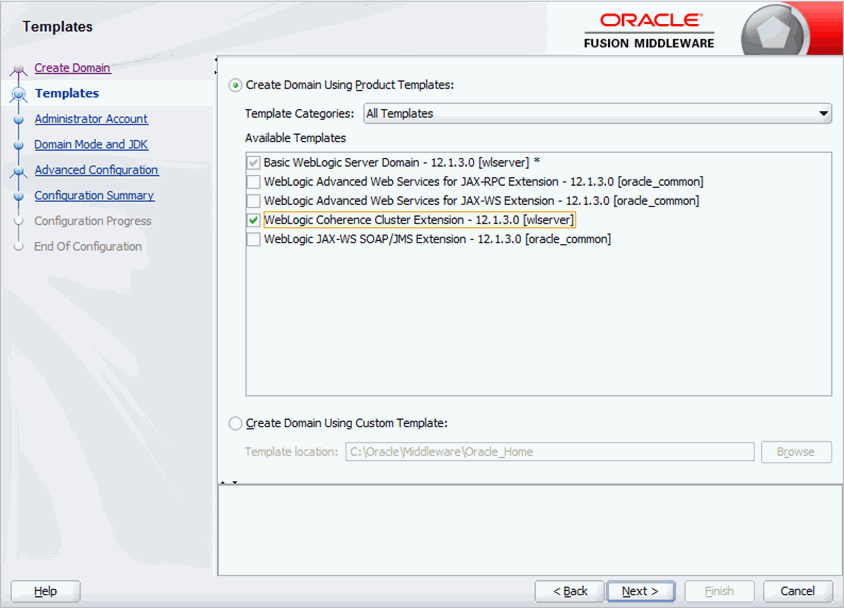
- In the Templates page, select Create Domain Using Product Templates and choose WebLogic Coherence Cluster Extension - 12.1.3.0 [wlserver] from the available templates list, and then select Next.
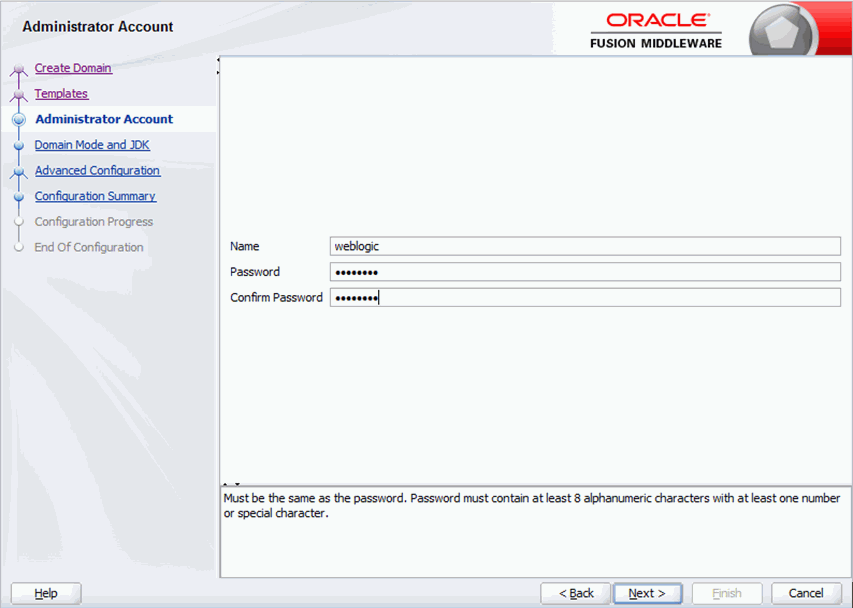
- In the Administrator Account page, type the name and password, and then select Next.
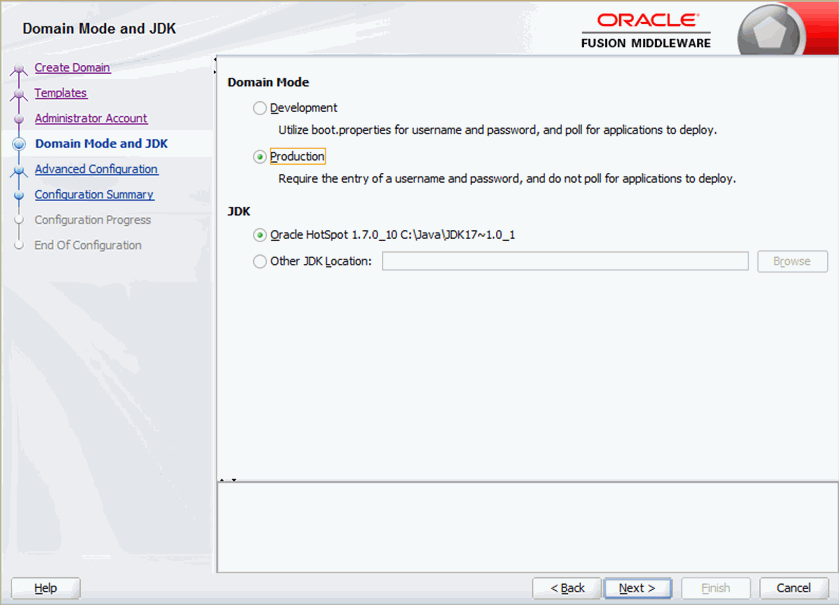
- In the Domain Mode and JDK page, choose Production for Domain Mode and Oracle HotSpot 1.7.0_10 C:\Java\JDK17~1.0_1 for JDK. Select Next.
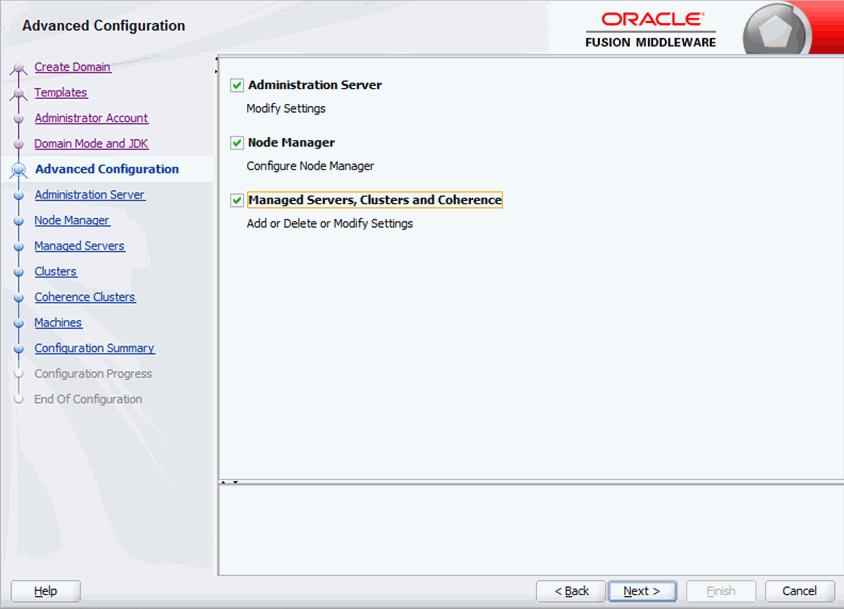
- In the Advanced Configuration page, keep the three advanced configuration options selected, then select Next.
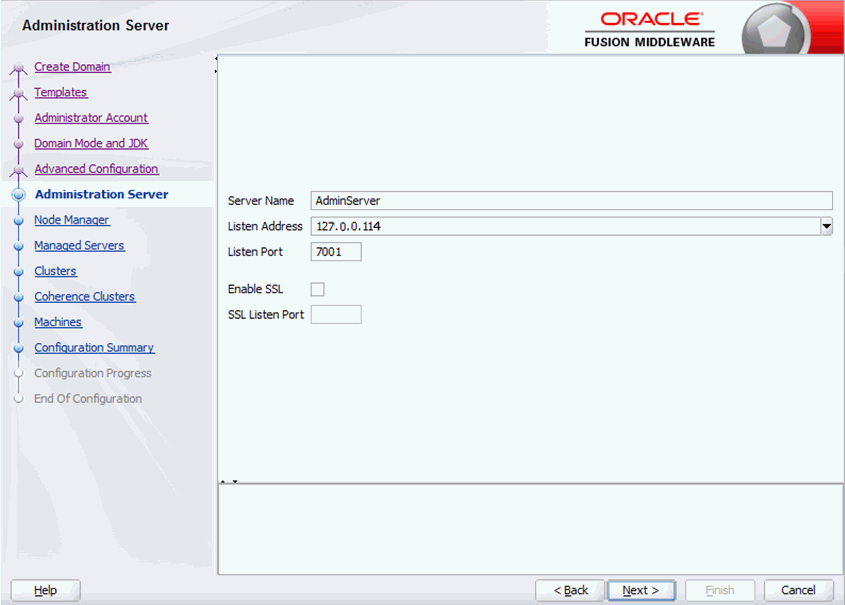
- In the Administration Server page, type the IP address of your machine in the Listen Address field. Change or accept the default settings for Server Name and Listen Port. Select Next.
- In the Node Manager page, choose Per Domain Default Location for Node Manager Type. Select Next.

- In the Managed Servers page, select Add to add two managed servers and a proxy server.

 Keep in mind that each server instance in your cluster, including the admin server, proxy server, and all managed servers, must have a unique Listen Address and Listen Port. If your managed server has the same Listen Address as the admin server, change the default values shown for the listen ports in this page, and type the same Listen Address as you assigned to the Admin Server. After assigning a unique Listen Address and Listen Port combination, select the Add button to create another managed server.
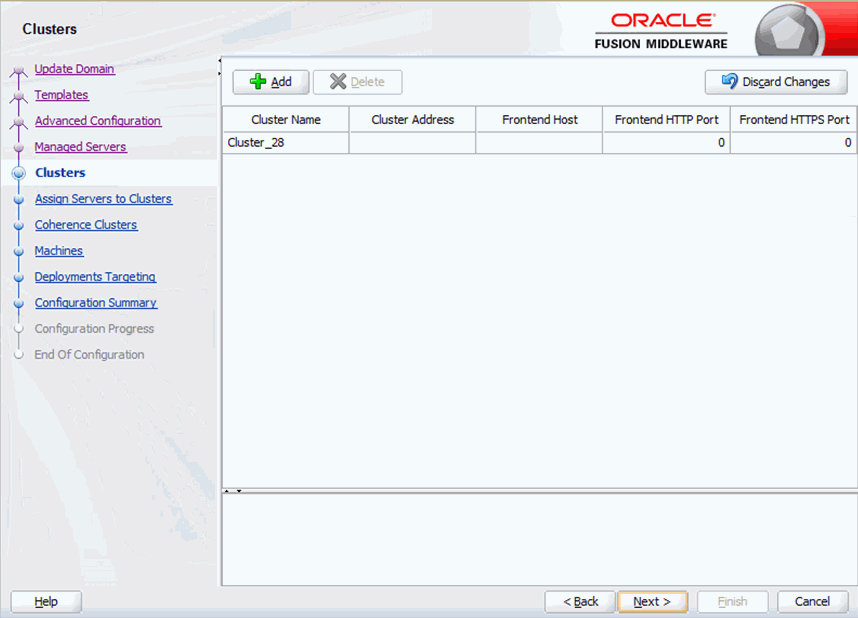
 - In the Clusters page, add a cluster named Cluster_28. Select Next.
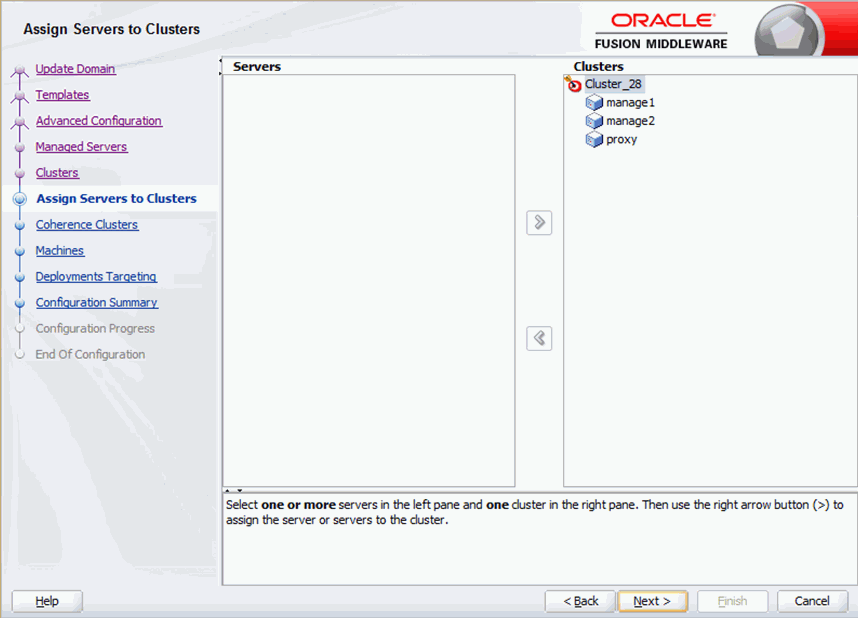
- In the Assign Servers to Clusters page, highlight the managed servers and the proxy server in the left column, and then use the right arrow button to assign the servers to the cluster listed in the right column. Select Next.
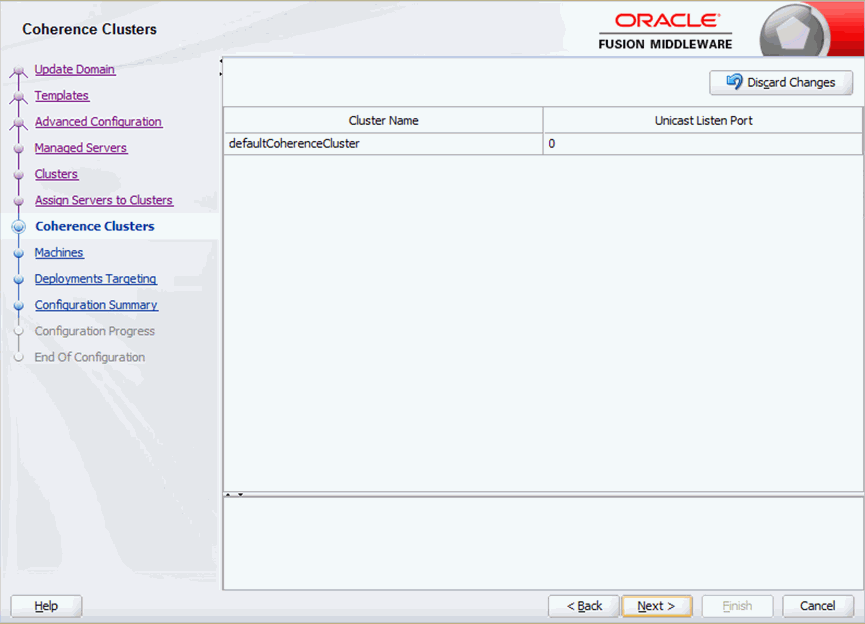
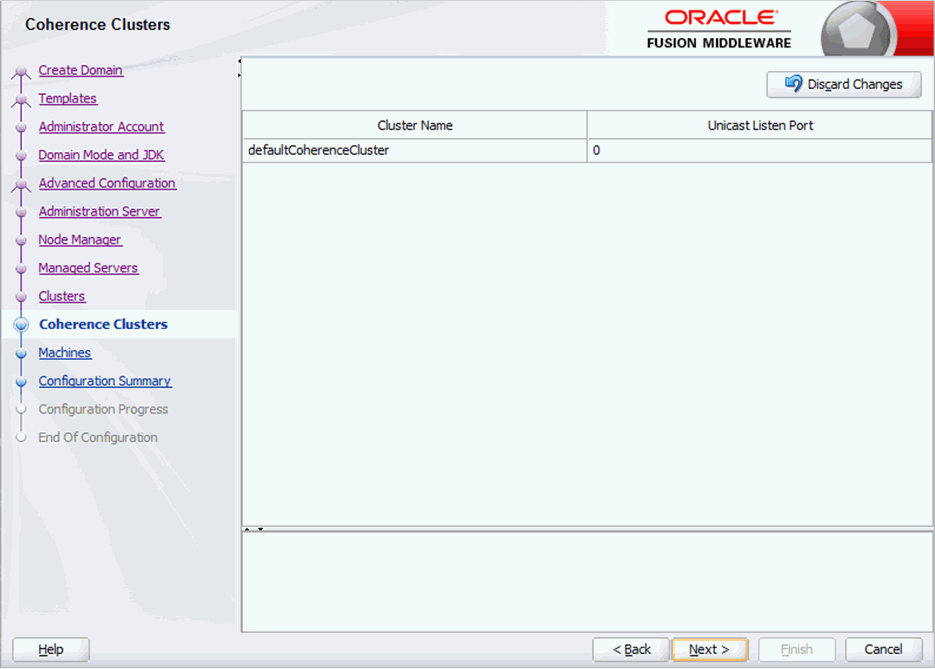
- In the Coherence Clusters page, set the Cluster Name as defaultCoherenceCluster and Unicast Listen Port as 0, and then select Next.
- In the Machines page, add two machines:
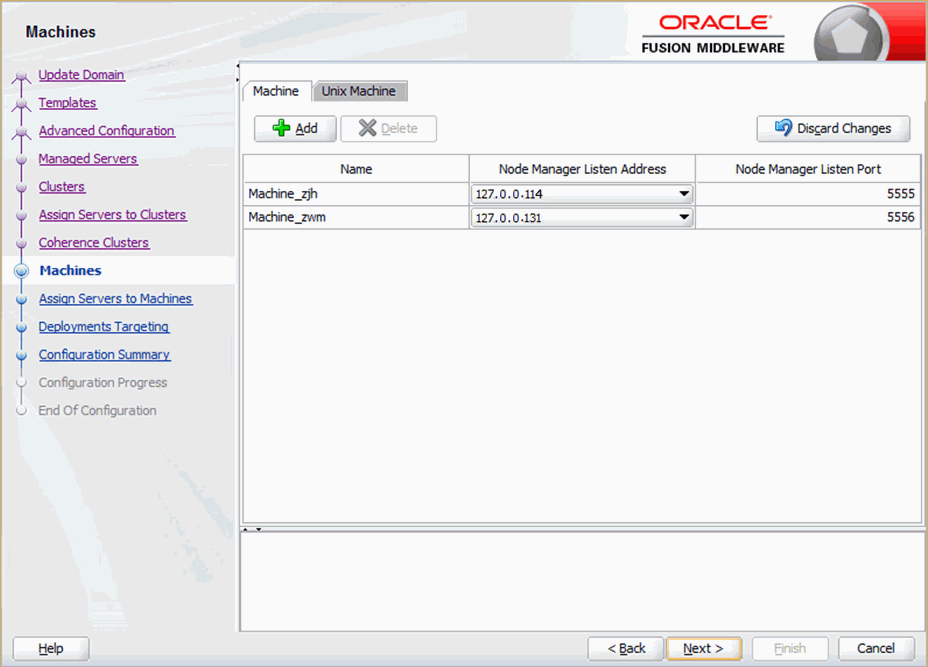
- Assign servers to machines. Assign the admin server, server manage1 and the proxy server to the machine Machine_zjh. Assign server manage2 to the machine Machine_zwm.

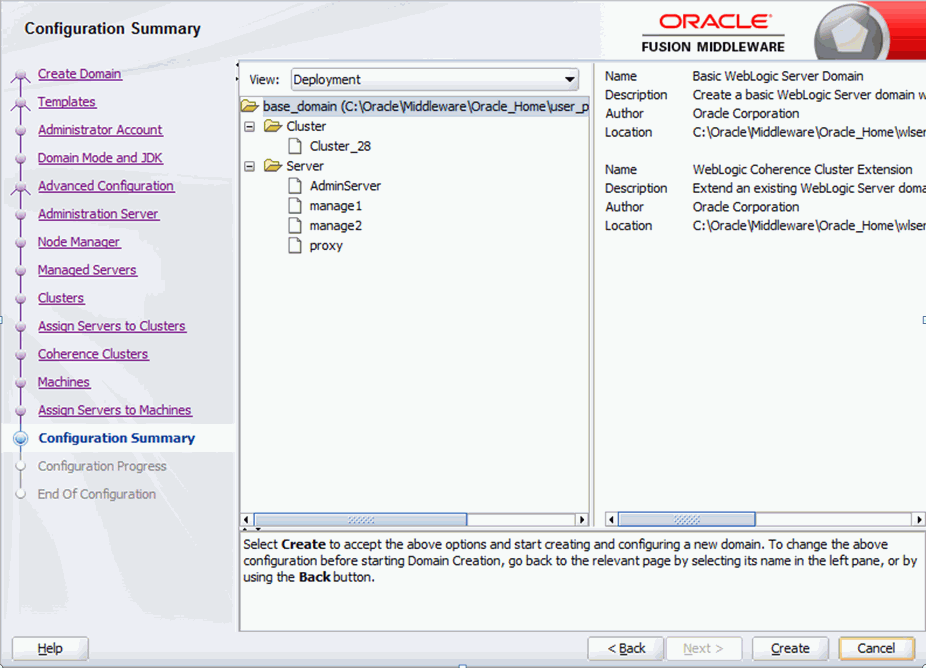
- Review your configuration specifications and configure the domain, then select Create.
-
Start the servers on machine Machine_zjh:
Start the admin server on the admin server:
C:\Oracle12c\Middleware\Oracle_Home\user_projects\domains\base_domain\bin\startWebLogic.cmd.Start the node manager:
C:\Oracle12c\Middleware\Oracle_Home\user_projects\domains\base_domain\bin\startNodeManager.cmd.Start and sign in to the proxy server on the proxy server:
C:\Oracle12c\Middleware\Oracle_Home\user_projects\domains\base_domain\bin\startManagedWebLogic.cmd proxy http://127.0.0.114:7001.Start and sign in to the manage1 server on manage1 server:
C:\Oracle12c\Middleware\Oracle_Home\user_projects\domains\base_domain\bin\startManagedWebLogic.cmd manage1 http://127.0.0.114:7001. -
Configure another managed server. Repeat step 1 to 8 for manage2.
- Skip the Managed Servers page, the Clusters page, and the Assign Servers to Clusters page. In the Coherence Clusters page, set the Cluster Name as defaultCoherenceCluster and Unicast Listen Port as 0, and then select Next.
- Skip the Machines page. In the Configuration Summary page, select Create.

-
Start the servers on machine Machine_zwm:
Start the admin server on the admin server:
C:\Oracle12c\Middleware\Oracle_Home\user_projects\domains\base_domain\bin\startWebLogic.cmd.Start the node manager:
C:\Oracle12c\Middleware\Oracle_Home\user_projects\domains\base_domain\bin\startNodeManager.cmd.Start and sign in to the manage2 server on manage2 server:
C:\Oracle12c\Middleware\Oracle_Home\user_projects\domains\base_domain\bin\startManagedWebLogic.cmd manage2 http://127.0.0.114:7001.
Step 3: Deploy Logi Report to the Oracle WebLogic Cluster
- Start WebLogic by running startWeblogic.cmd in
C:\Oracle12c\Middleware\Oracle_Home\user_projects\domains\base_domain\bin. - Access the WebLogic Server Administrative Console 12c using the URL
http://127.0.0.114:7001/console/, where 127.0.0.114 is host name or IP address, and 7001 is the port number. - Go to Home > Summary of Environment > Summary of Servers > Summary of Deployments. In the Available targets for jreport section, choose the cluster named Cluster_28 and select Part of the cluster, then choose the two managed servers manage1 and manage2 as well as the proxy server proxy. Select Finish to finish selecting deployment targets.
- Go to Home > Summary of Environment > Summary of Servers > Summary of Deployments > jreport, select the Save button to save the settings for jreport. When you see the message Settings updated successfully, select the Activate Changes button in the Change Center panel on the left.
- Continue to go to Home > Summary of Environment > Summary of Servers > Summary of Deployments > jreport > Summary of Deployments. In the Deployments section of Control panel, select the Start drop-down list and choose Servicing all requests. Select the Lock & Edit button in the Change Center panel on the left.
- Wait until the deployments state of jreport changes to Active.
- Start Logi Report Server using the URL
http://127.0.0.114:7008/jreport. 127.0.0.114 is the host name or IP address for the proxy server, and 7008 is its port number.